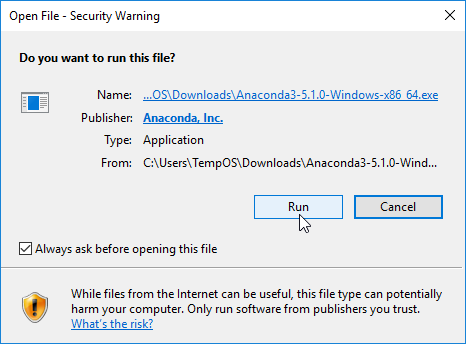
This post is a step-by-step process for using Jupyter notebooks on a Windows 10 PC.
Download your desired Anaconda version and follow the steps pictured.
Anaconda download URL: https://www.anaconda.com/download/
Microsoft VSCode is not an install requirement. If you do not wish to install Microsoft VSCode, click the Skip button.
Anaconda is now installed. To create a new Jupyter Notebook server instance, in your Start menu:
- Type Anaconda
- Right-click the Anaconda Prompt desktop app
- Select "Run as administrator"
When prompted, click "Yes"
Navigate to the system director where you would like your Jupyter notebooks to be saved. Below is an example command to navigate to Documents system directory.
cd C:\Users\TempOS\Documents
*Note* TempOS should be replaced with your Windows username
Enter "jupyter notebook" into the command prompt and press Enter on your keyboard.
Copy and paste the URL displayed in the command prompt into a web browser. Navigate to the URL.
In order to create a new Jupyter notebook, click New>Python 3 notebook.
Picture below is an example Jupyter notebook.


![2018-04-30 22_06_54-Windows 10 [Running] - Oracle VM VirtualBox.png](https://images.squarespace-cdn.com/content/v1/55c17b09e4b081fdca9cb4b6/1527735230420-O1PB97XPEAR7Z7A1CR66/2018-04-30+22_06_54-Windows+10+%5BRunning%5D+-+Oracle+VM+VirtualBox.png)


